How to Build a DIY Root Cellar on a Budget plan
페이지 정보
작성자 Clarita 작성일24-11-07 02:46 조회3회 댓글0건관련링크
본문
11 building vocabulary word roots cell processes a DIY root cellar is a great way to save fresh fruit and vegetables and protect food naturally. Root cellars keep cool, steady temperatures, allowing fruits and vegetables to last longer. Fortunately is that you can produce a root cellar with standard tools and materials, making it a cost-effective project for any family. Here's a detailed guide to assist you get going on your budget-friendly root cellar.
Step 1: Choose the Right Location
The location of your root cellar plays an essential role in its effectiveness. Preferably, select an area that remains cool, shaded, and somewhat below ground level, such as a hillside or shaded area in your lawn. This helps maintain a continuous temperature and provides natural insulation. If you don't have a hillside, you can construct an above-ground cellar, but you'll require additional insulation to keep it cool year-round.
Action 2: Plan Your Dimensions and Design
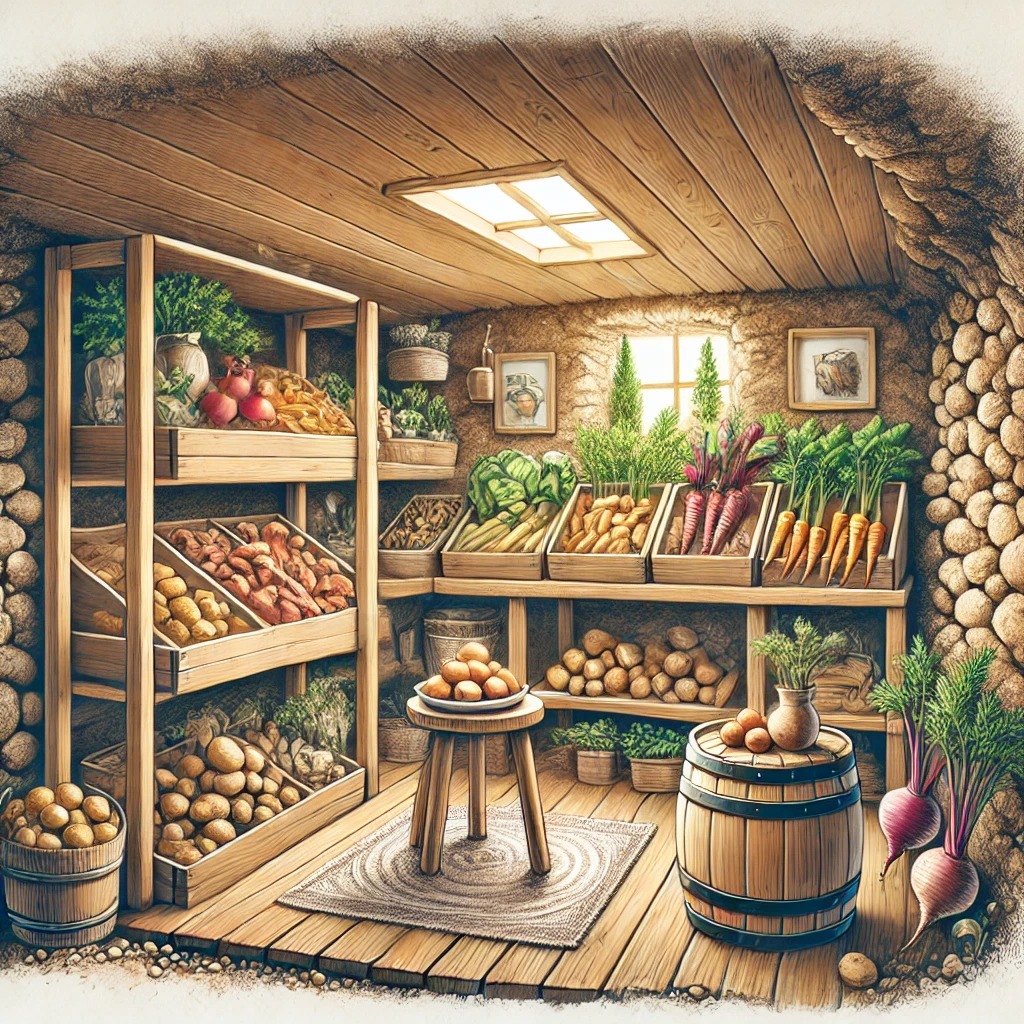
Next, think about the size of your root cellar. If you're simply beginning, a little root cellar can be as basic as a pit in the ground, covered with a door. For larger storage, aim for a space that is at least 6x6 feet to keep numerous items. Draw up the layout and pick storage options, such as shelves and bins, based upon your requirements.
Step 3: Excavation and Structure
Begin by digging and building a root cellar into a hillside the area for your root cellar. For a simple underground cellar, dig a pit deep enough to permit insulation but not too deep, as this might invite moisture concerns. Line the walls with bricks, concrete blocks, or without treatment wood, guaranteeing it's sturdy. Adding a concrete floor is optional however helps in reducing wetness. Seal any gaps to keep the temperature controlled.
Step 4: Install Shelving and Ventilation
Proper ventilation is necessary to avoid mold and excess moisture. Add a basic PVC or plastic pipeline for airflow, placing one vent low and another high to produce a cross breeze. Next, install shelving for easy company. Wooden shelves are perfect for their sturdiness and insulation qualities, but avoid treated wood, as it may release chemicals that could impact your produce.
Step 5: Insulate the Cellar
Insulation is key to keeping your root cellar at a steady temperature level. Line the roof with thick materials like straw, leaves, or even extra layers of soil. For added insulation, you can cover the door with a tarpaulin or insulation board to maintain a cool, consistent environment.
Last Tips and Maintenance
Examine your root cellar routinely for wetness buildup, leaks, or insects. Easy traps can prevent rodents, and proper ventilation will avoid wetness accumulation. Check kept products occasionally to ensure they're in good condition.
 Constructing a DIY root cellar on a budget plan is manageable with the ideal method. With this setup, you'll delight in a consistent supply of fresh produce, decrease waste, and gain the advantages of healthy food storage. Ready to begin? Gather your tools and delight in the benefits of your own root cellar!
Step 1: Choose the Right Location
The location of your root cellar plays an essential role in its effectiveness. Preferably, select an area that remains cool, shaded, and somewhat below ground level, such as a hillside or shaded area in your lawn. This helps maintain a continuous temperature and provides natural insulation. If you don't have a hillside, you can construct an above-ground cellar, but you'll require additional insulation to keep it cool year-round.
Action 2: Plan Your Dimensions and Design
Next, think about the size of your root cellar. If you're simply beginning, a little root cellar can be as basic as a pit in the ground, covered with a door. For larger storage, aim for a space that is at least 6x6 feet to keep numerous items. Draw up the layout and pick storage options, such as shelves and bins, based upon your requirements.
Step 3: Excavation and Structure
Begin by digging and building a root cellar into a hillside the area for your root cellar. For a simple underground cellar, dig a pit deep enough to permit insulation but not too deep, as this might invite moisture concerns. Line the walls with bricks, concrete blocks, or without treatment wood, guaranteeing it's sturdy. Adding a concrete floor is optional however helps in reducing wetness. Seal any gaps to keep the temperature controlled.
Step 4: Install Shelving and Ventilation
Proper ventilation is necessary to avoid mold and excess moisture. Add a basic PVC or plastic pipeline for airflow, placing one vent low and another high to produce a cross breeze. Next, install shelving for easy company. Wooden shelves are perfect for their sturdiness and insulation qualities, but avoid treated wood, as it may release chemicals that could impact your produce.
Step 5: Insulate the Cellar
Insulation is key to keeping your root cellar at a steady temperature level. Line the roof with thick materials like straw, leaves, or even extra layers of soil. For added insulation, you can cover the door with a tarpaulin or insulation board to maintain a cool, consistent environment.
Last Tips and Maintenance
Examine your root cellar routinely for wetness buildup, leaks, or insects. Easy traps can prevent rodents, and proper ventilation will avoid wetness accumulation. Check kept products occasionally to ensure they're in good condition.
Constructing a DIY root cellar on a budget plan is manageable with the ideal method. With this setup, you'll delight in a consistent supply of fresh produce, decrease waste, and gain the advantages of healthy food storage. Ready to begin? Gather your tools and delight in the benefits of your own root cellar!댓글목록
등록된 댓글이 없습니다.